 Glenn's home page.
Telecini is the conversion of film-stock to video format. A professional rig to do this costs tens of thousands of dollars. I hacked together something that can't do that level of quality, but still does a pretty decent job, using an old 16mm projector and about $40 of parts (not counting the BlackMagic™ Micro digtal camera which we already had!).
After years of setting up an old 16mm projector to project onto a sheet of A3 paper taped to a wall in a darkened classroom, so that students could film it with a digital camera, I made a proper telecini machine.
We used to do a class project called 'hand-made film' which involved students taking several meters of old 16mm film and scratching, hole-punching, inking, painting, even glueing stuff to them (decaying leaves and feathers were surprisingly successful, if you put tape over it to stop it scraping off as it went through the projector). It was a useful addition to a digital-filmmaking course as it gave early students the kind of hands-on experience with film frames that you can't always easily conceptualise from a digital editing environment. And it was just plain fun learning!
I had started with a number of old Eiki™-brand 16mm projectors of similar vintage, all broken in various ways, and enough common components that I had managed to parts-swap a working projector out of them for the class activity. I also had a second projector that was in fully-working condition except for missing the lens assembly. That is what I went with for this project.
I figured 16mm projector frames are about the size of microscope slides, so bought a cheap microscope C-mount lens assembly online for fifteen dollars, and two dollars extra for an adapter ring to convert its C-mount (industrial camera) fitting to the 4/3 fitting of the BlackMagic™ Micro cameras we had a small stock of for students to use.
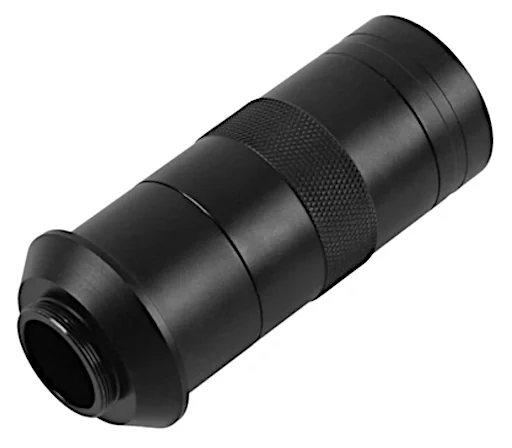
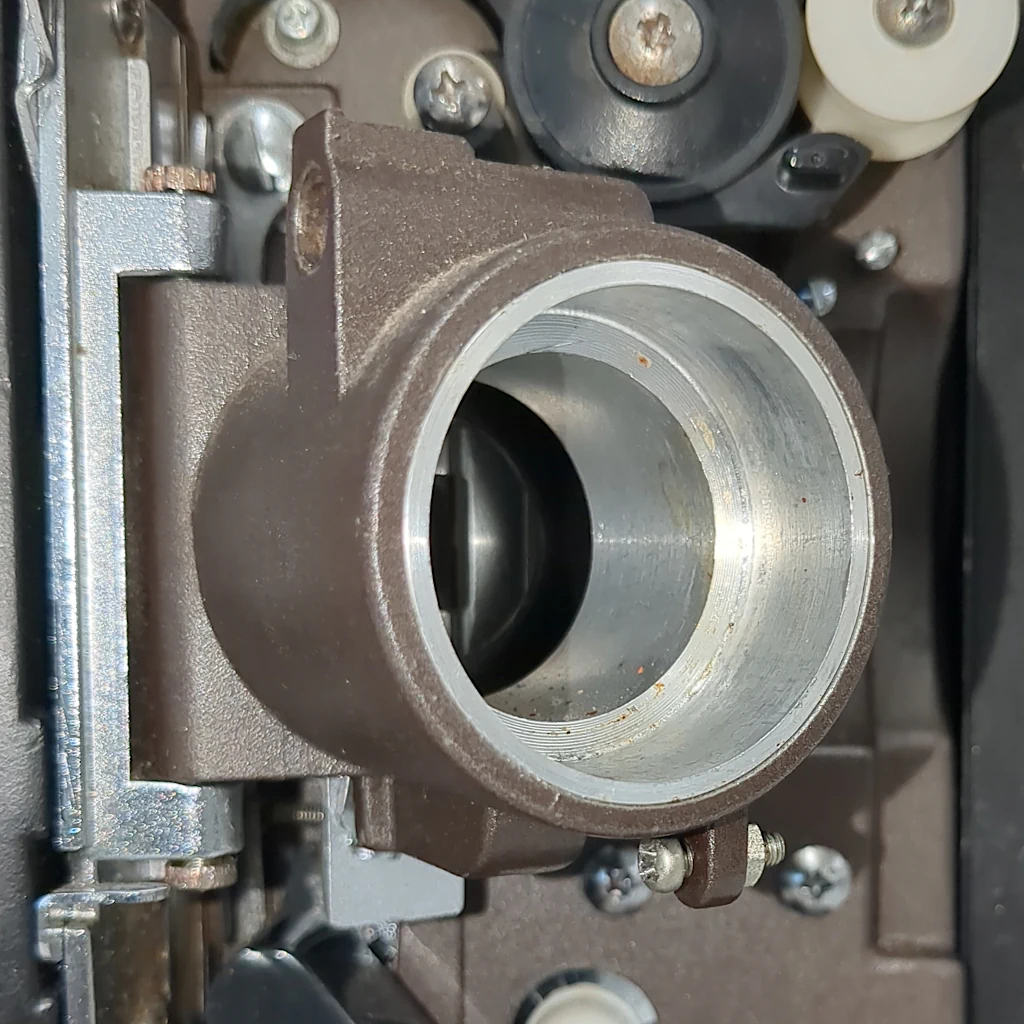
After measuring the outside of the microscope lens, and the inside of the empty projector lens tube, as well as the back-off distance I would need between the back of this tube and where the film ran through (using the microscope data sheet as reference), I had the engineering department quickly machine a piece of scrap aluminium tube into a fitting-ring so the microscope lens could fit snugly inside the former projector lens tube. A firm fit, with some Locknut™ to be sure.
The other thing I wanted to do was replace the projector's bulb with a white LED. For two reasons: Firstly, the projector bulb was going to be far too bright to shine strait into a digital camera, and BlackMagic™ cameras aren't exactly cheap, not even the Micros! Second, bulbs are expensive and hard to find. The last set of four that I ordered, from an obscure overseas stockist of obsolete machine-parts, each one was a different brand, and I suspect I might have near-to-the-very-last new-in-box ones left in the world!
The BlackMagic™ Micro camera was perfect for this project. Designed for attaching to larger drones, it was the best-quality 2k camera available at the time, stripped back to minimal functionality to keep weight down, and so makes a good base from which to then build up a bespoke 2k rig, for a good bit cheaper, and lighter, than using a full BlackMagic™ 4k module. For our own usual uses, the MicroII, with its built-in LCD display would have been far better, but they weren't released until the year after we had needed a set of light-weight 2k pro-video cameras for student use.
So I also gutted the existing lamp (carefully storing it for the next time our unmodified projector needed a new one) and fitted a 28V LED array in its place. The projector provides 24VAC to the lamp, so I also had to add in a rectifier bridge and a HUGE smoothing capacitor to feed the LED a clean enough DC current to stop it flickering at a rate imperceptable to the human eye seen raw, but very detectable when mixed in with the projector's frame-rotor, and even more so when passed via the camera's own digital equivalent on top of that!
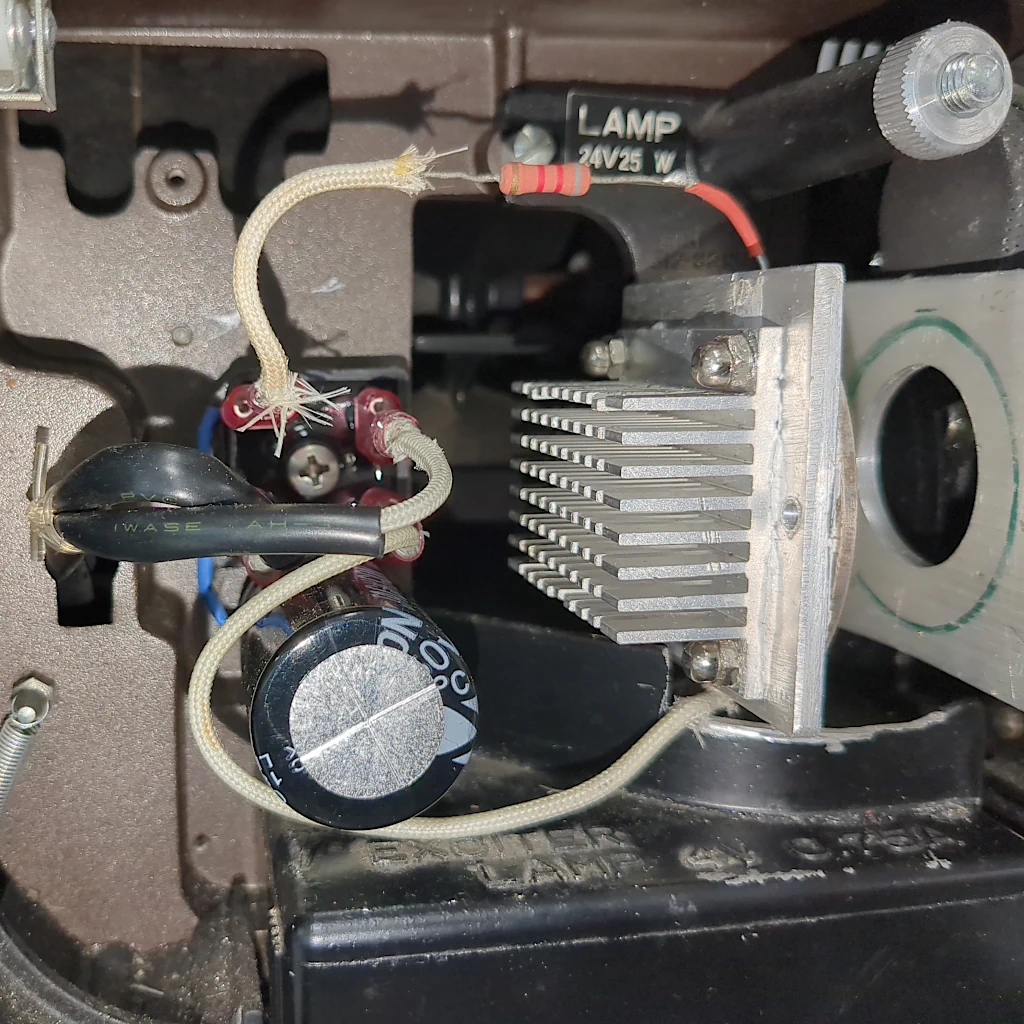
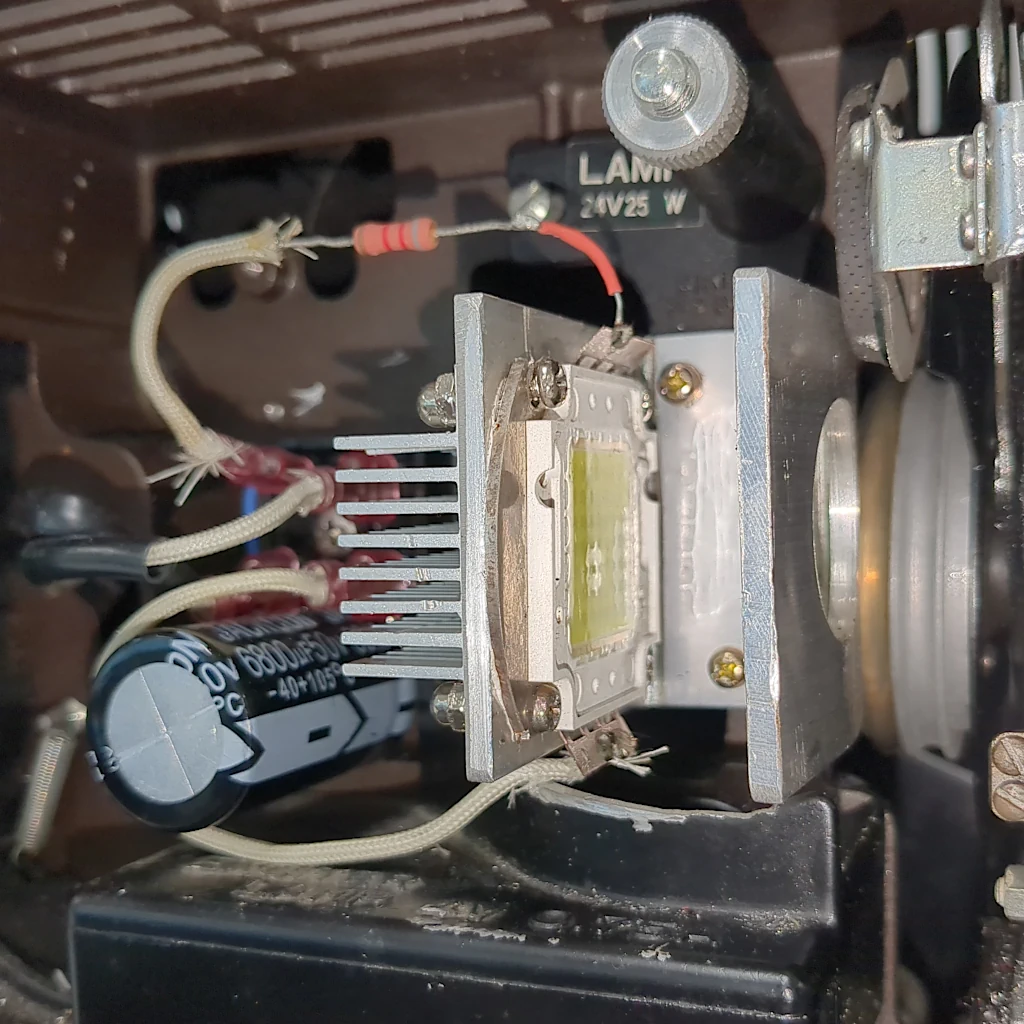
Just to see what would happen, I borrowed the lens assembly from the working projector and tried to actually project. As bright as that LED array was, it was still barely visible projected on the wall. So no saving myself projector bulbs in general this way, but good for the telecini conversion.
And after a little flnal-aligning of the adapter ring in the tube, I inserted the microscope lens with the camera on it, and presto! Telecini recording of the 16mm film running through the projector.
Well, not quite! The too-dim-to-project LED was still flooding the cameras' CCD, though not to a level that could damage it. I added a nice big resistor into the LED's power feed to drop its brightness and after trying a few different values of resistance, got the right one to get the light output just right.
Unintended side-effect is that the power-draw of the LED array is now so low that the smoothing capacitor keeps it lit for almost a minute after power is cut. With the benefit of hindsight, a smaller array could have been used, but this works so I'm not changing it now!
After a bit of testing, I was satisfied it was all good, and used some metal-glue to permonantly seat the aluminium adapter ring in the projector lens-tube, at the optimal depth. And the $20 telecini machine has been working ever since. The BlackMagic Micro camera also supports HDMI output of what it is filming, so I can even pass this to the classroom projector to display what is being recorded in real time.
Also note, I didn't bother building a level-converter to feed the projector audio into the camera as our 'hand-made-film' project doesn't use audio. I instead used the camera's built-in microphone to record the "clack-a-clack-a-clack" of the projector itself for students to decide if they wanted to include that in their finished work.
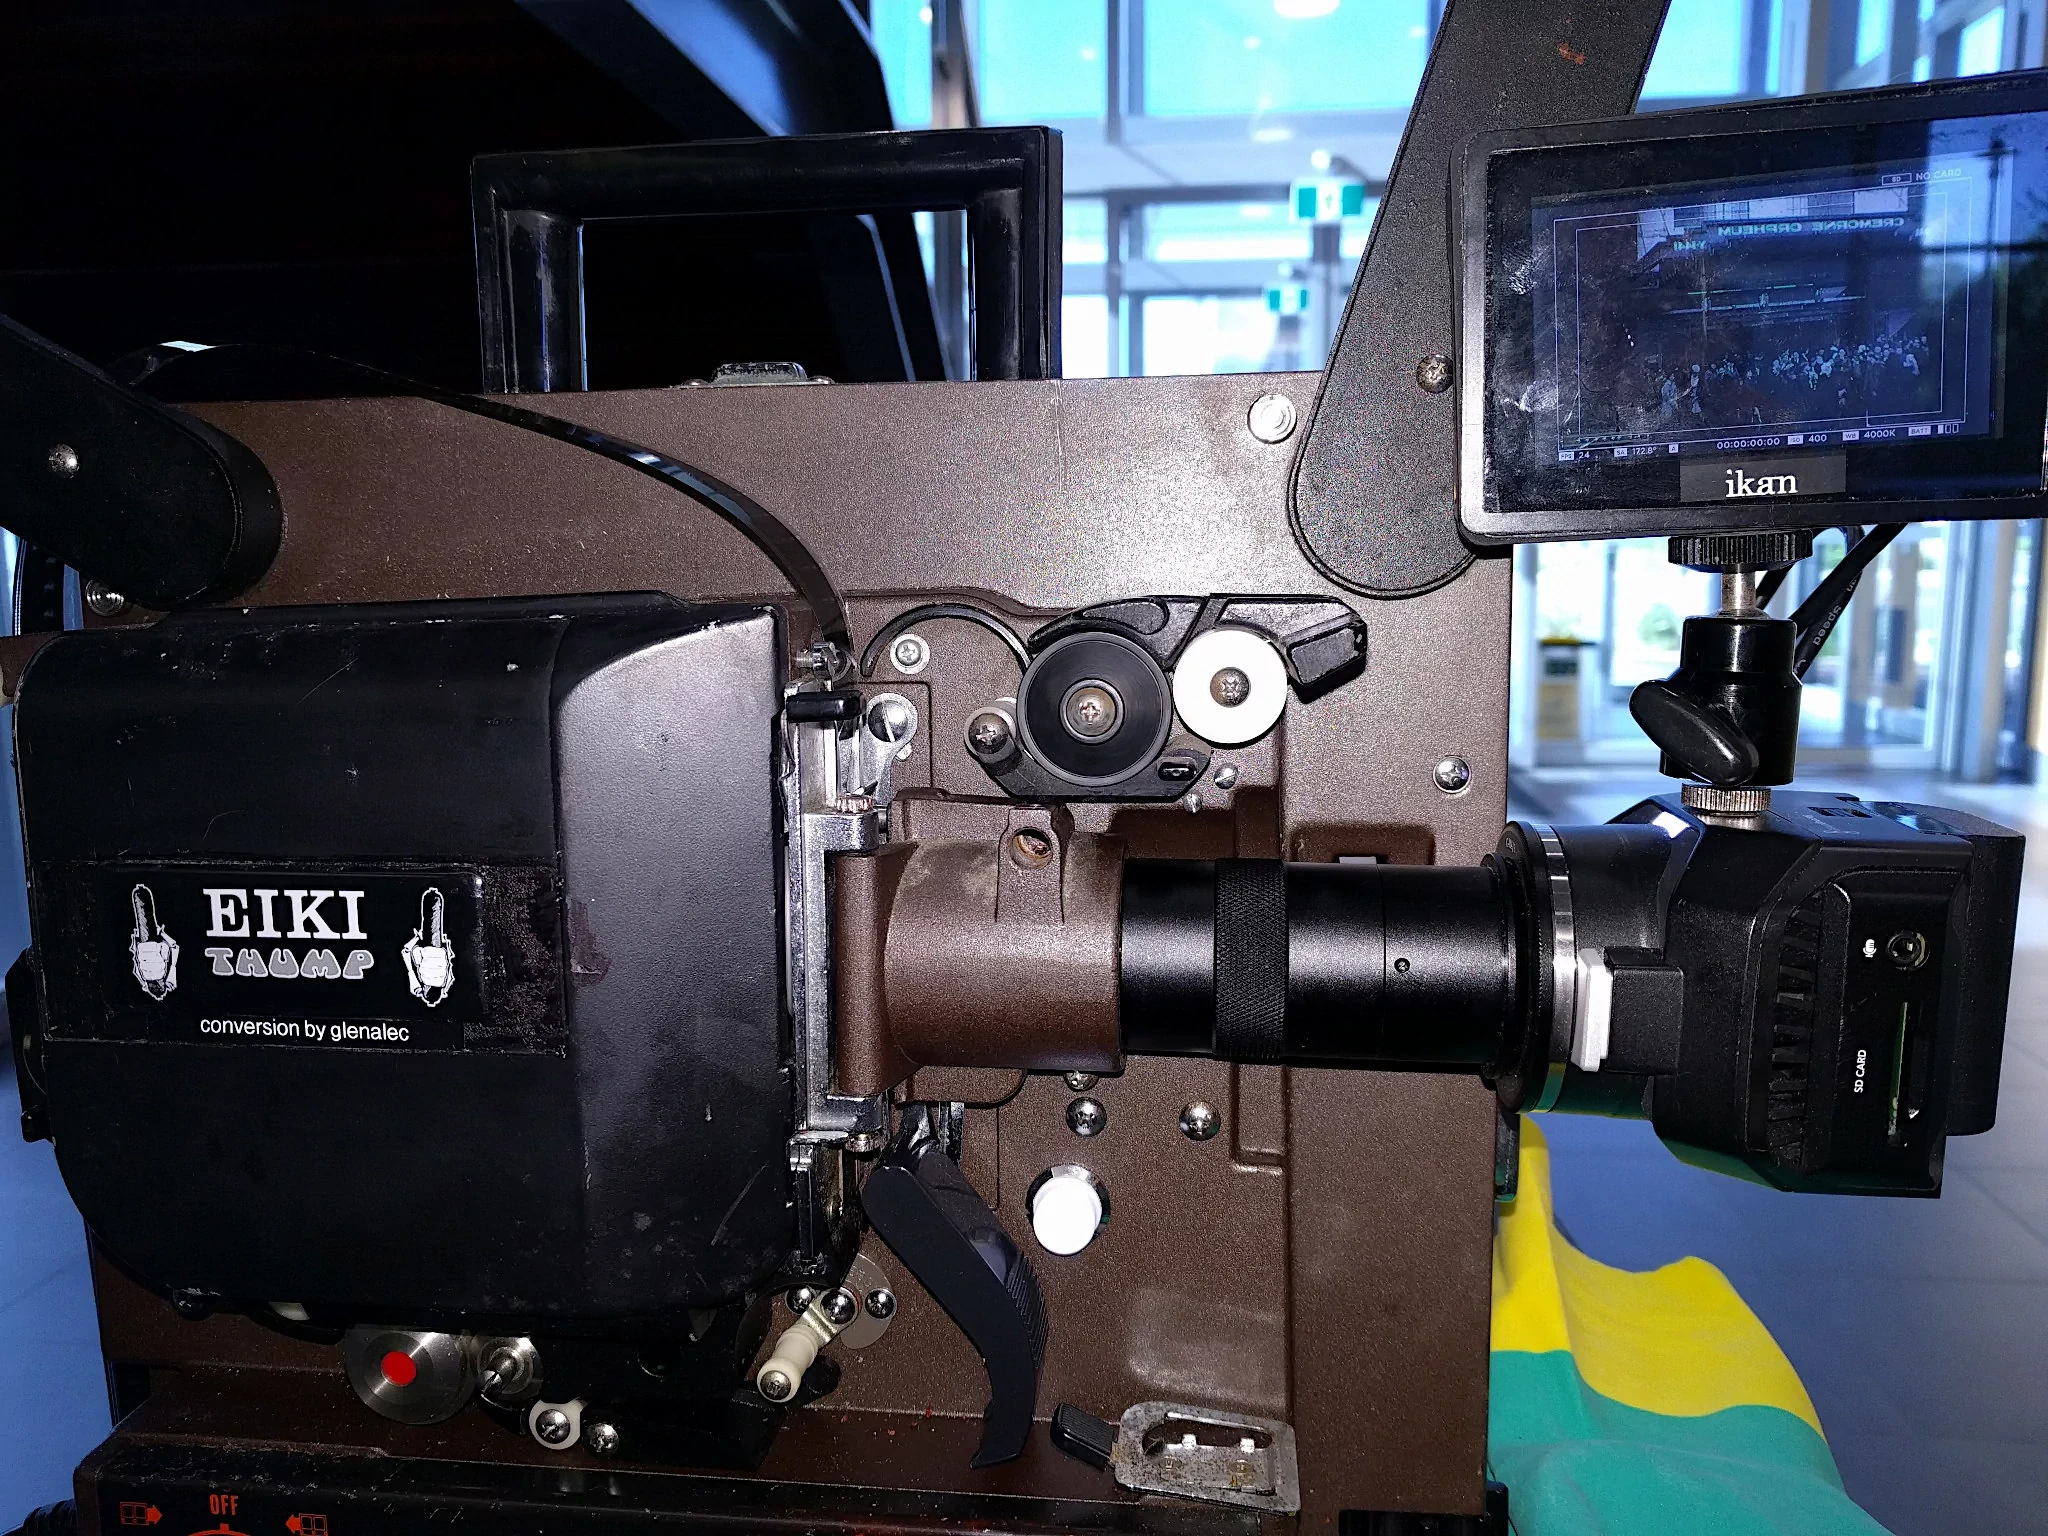
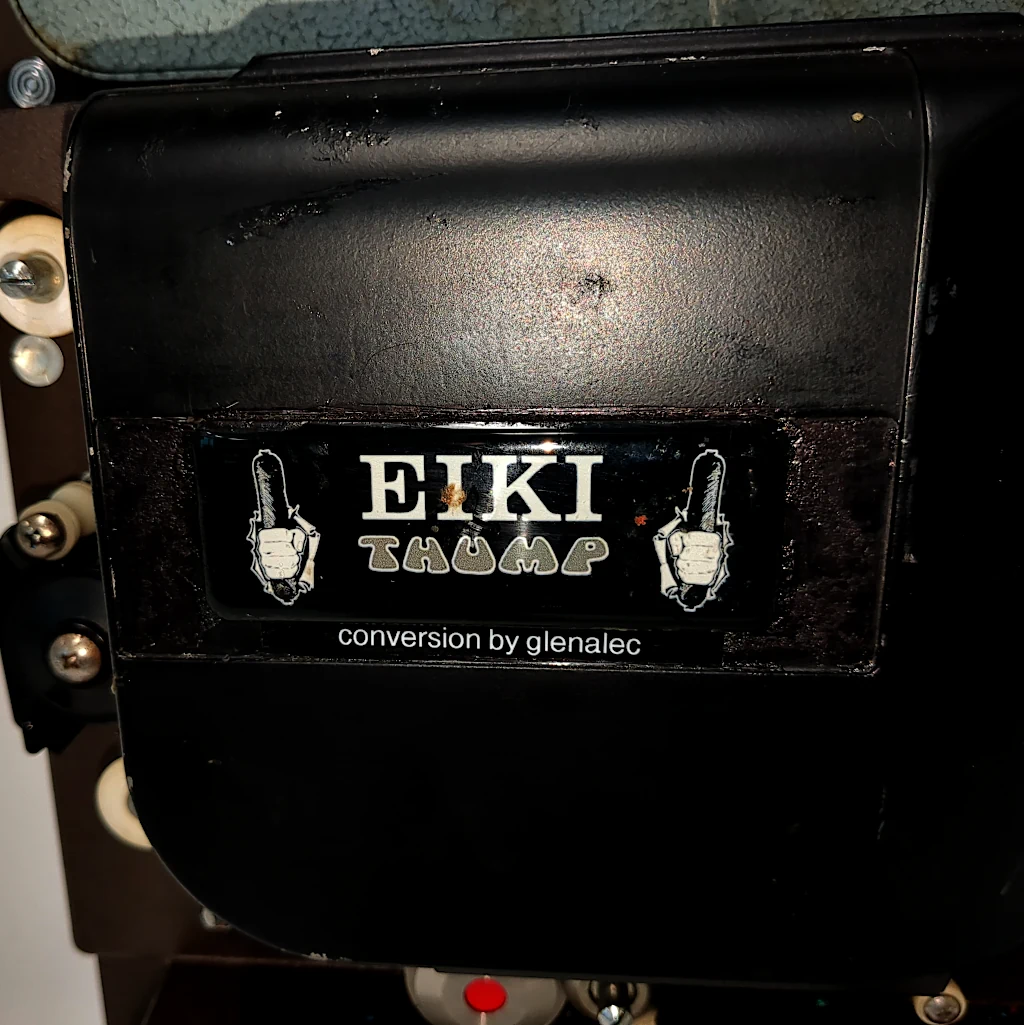
And I had a nice label for it printed at the same place that prints our work name-badges. To get the reference, you will probably need to have grown up exposed to a lot of 1970's BBC-TV content!
The subject I built it to support is no longer running, sadly, but I still get people coming in from about my workplace with old film they want to convert, having heard I have a rig that can do a half-decent job and not cost thousands of dollars!
A staffmember had a little hand-operated 16mm film viewer that was broken. I refitted it internally with an LED light source for them.
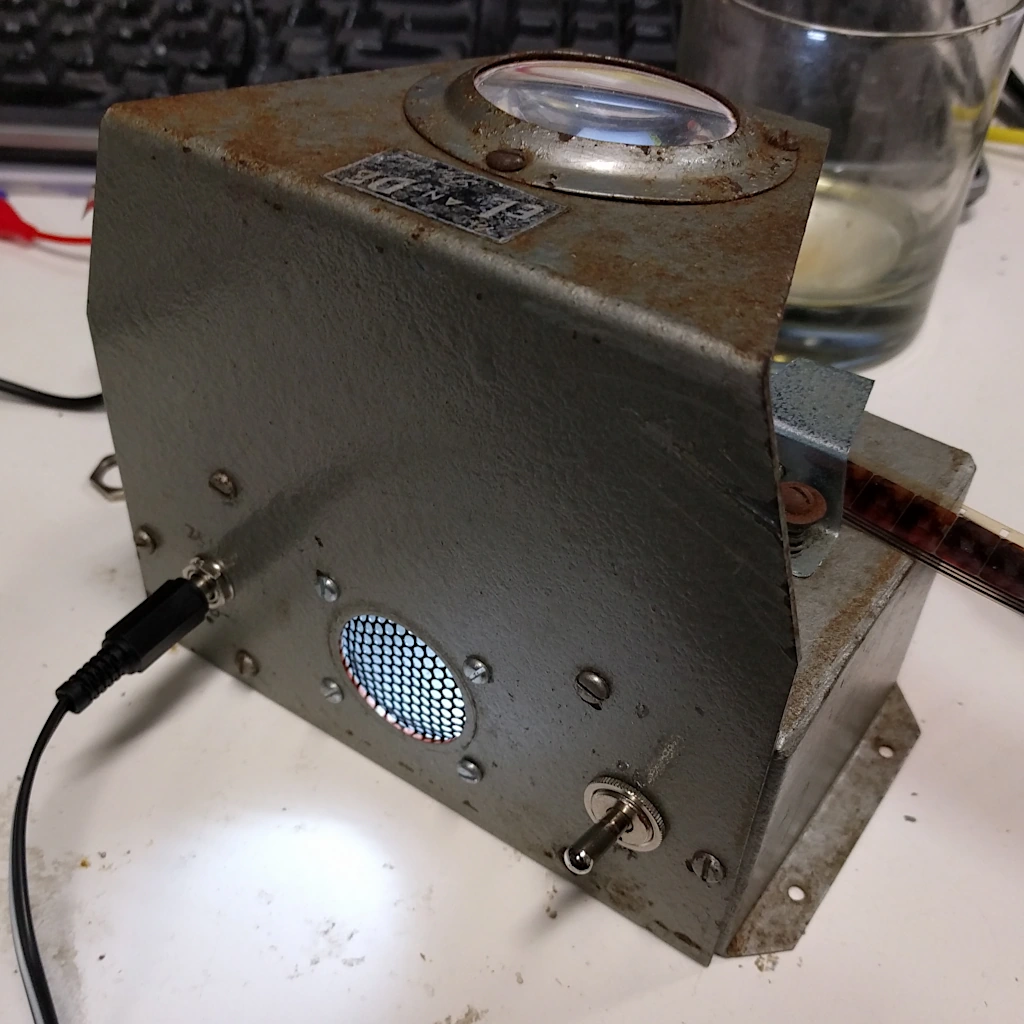
I added a DC-Power jack and a nice period-appropriate-looking metal toggle switch to the back of the chassis. While it is always good to 'modernise' the internals of equipment, I don't necessarily like changing the externals away from what they were! The hole where the old 240V incandescent lamp holder used to fit was filled with some hexagonal speaker-mesh I had savlvaged from some old computer speakers, to provide the LED-COB with some ventilation. Probably unnescessary, but the hole was there and I had to do something with it! I even found some slot-screws to match the existing ones on the device.